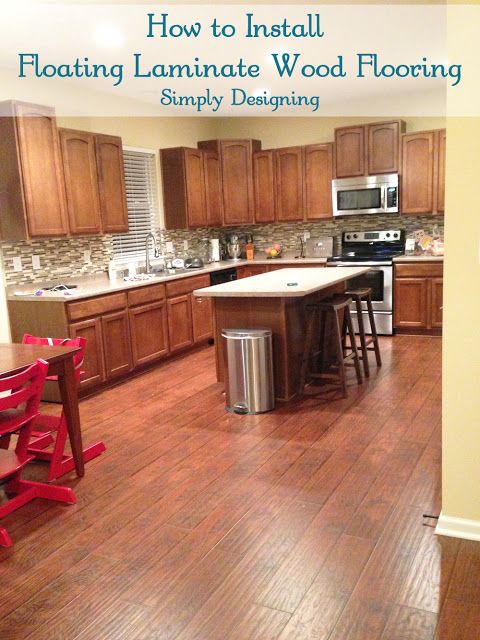
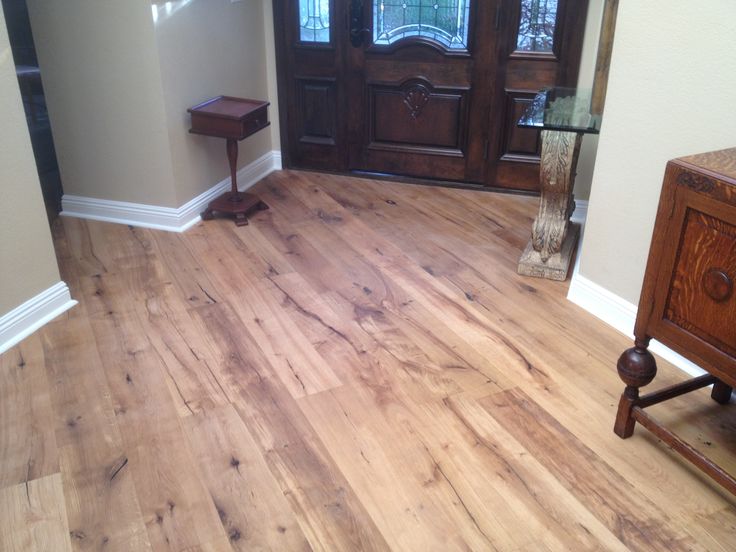
The hardwood floor finish is a tried and true deck piece that brings a natural look to your home. It gives uniqueness to your home and reflects a valuable aura in your interiors.
Hardwood flooring has a high status and requires great care in its introduction. In most cases, installing hardwood floors requires a skilled hand. However, if someone by no means has the necessary knowledge and still needs to install a hardwood floor themselves and is sufficiently able to do so, installing sanded hardwood is not a great ordeal.
By following the attached headings, anyone can become an expert in hardwood flooring adoption. Whatever the case, remember that cleanliness and skill are the keys to an elegant hardwood floor appliance.
Useful tips
Before you make any arrangements for introducing a hardwood floor into your home, you must consider the following tips:
- The installation must be above the rating
- The wood to be brought in as a base must be set up 5 days before it is established in the room at a temperature of 65 to 75 degrees.
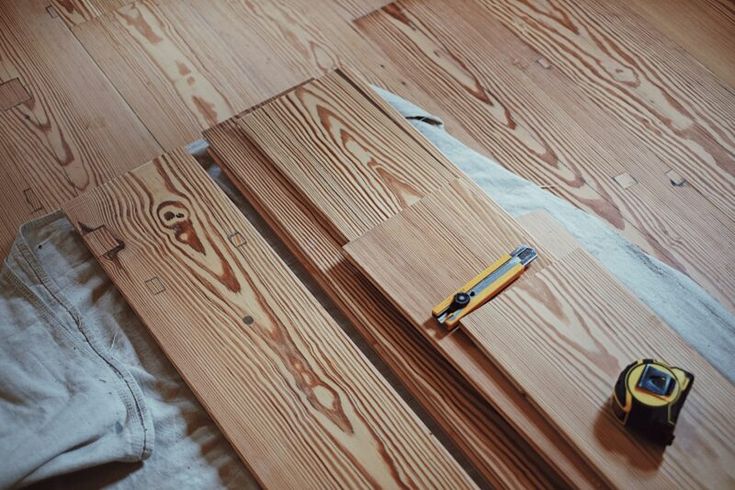
- Equip yourself with all the basic gadgets
- A jack of all trades is required for the introduction of hardwood floors
- There must be a suitable subfloor on which the wooden floor is to be installed
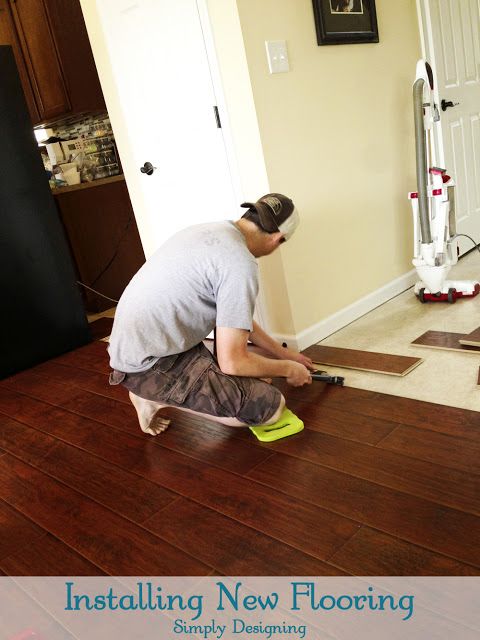
- Use nail guns with due caution
- Knee pads must be adjusted so that your knees are not damaged
Simple steps
- Make flawless marks on the floor by covering the floor with felt paper. Mark the area of the floor joists.
- Drill the first and last pillars of the earth’s surface. Drill 1/16 inch wide gaps for the nails.
- Attach the motherboard to the format line, placing a ¾ inch standoff against the adjacent bulkhead. The deck nails must be passed 5d or 6d through the guide hole.
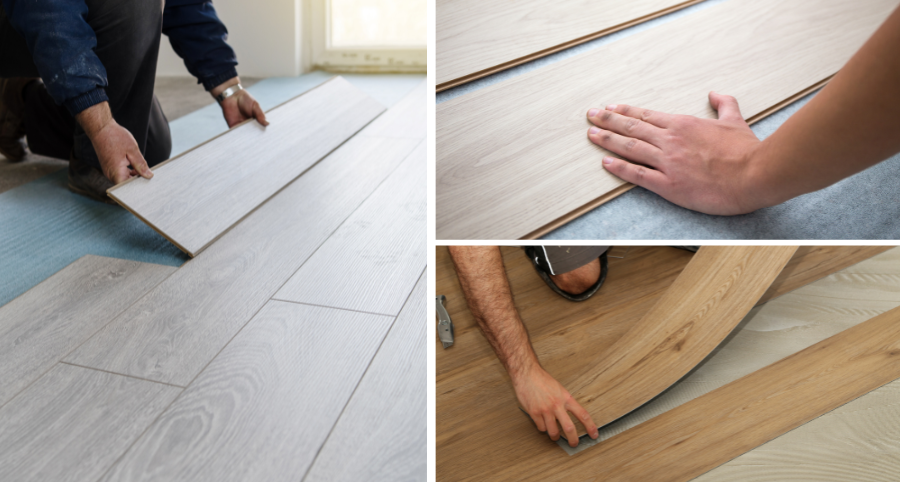
- Now start to continue the process with the leaves in a smooth progression. Place the end and the notch together and form a tight crease by pinching. When installing hardwood floors, you need to move the column down until you reach the back. Now trim the last end to set, leaving a ¾ inch gap.
- The next step is to match the floor to the shading and size of the wooden planks and introduce the following lines in even succession.
- Nail and fasten the floor if there are curved panels. Cut and pin the last line to be changed. You then modify the molding on the adjacent partition, ending with a trimmed and classy looking wooden floor.